

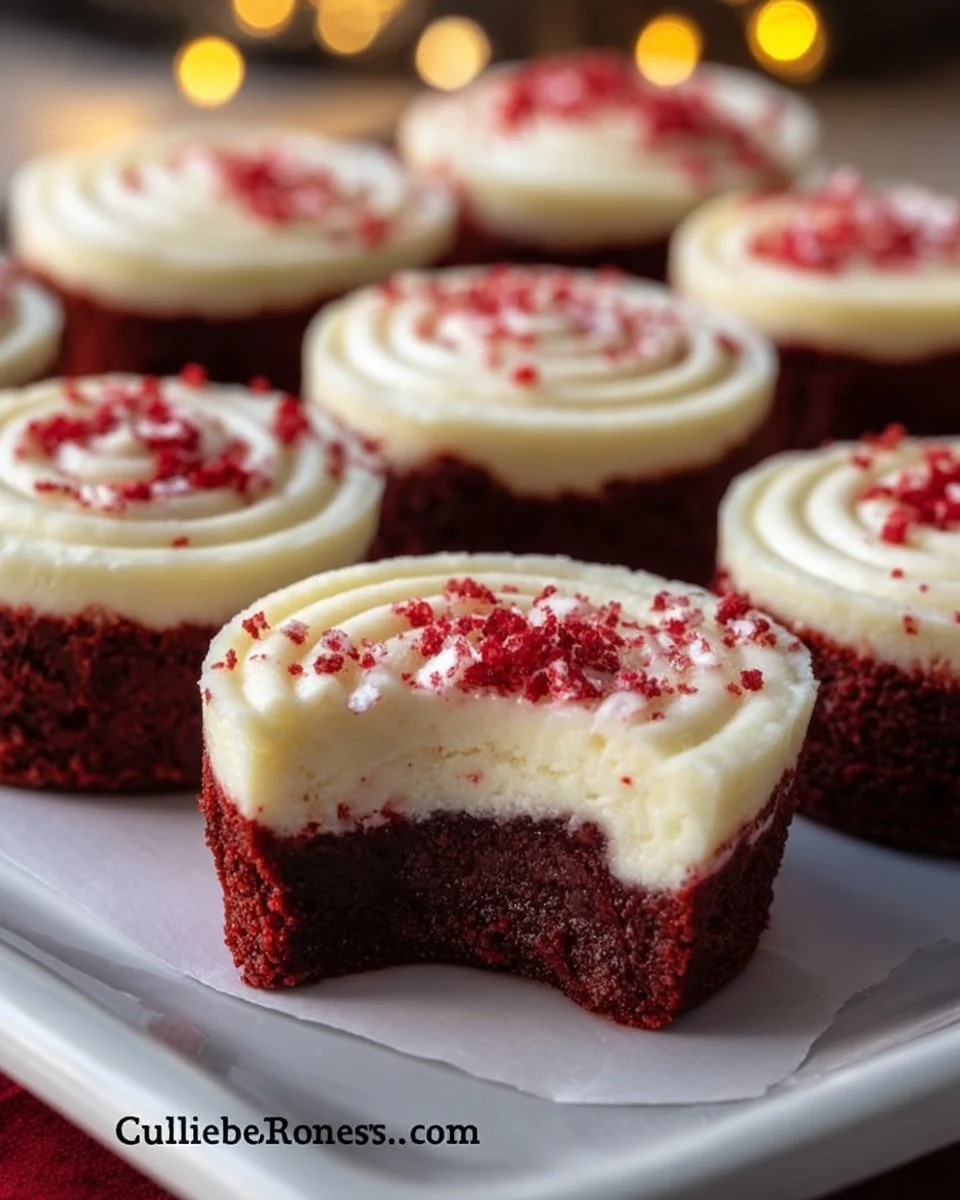
Mini Cheesecakes with Red Velvet Brownie Base: The Best Sweet Treat
Ah, mini cheesecakes with a red velvet brownie base! Honestly, just saying it makes my heart skip a beat. There’s something uniquely indulgent yet comforting about this treat that takes me back to my childhood, sitting in my grandma’s kitchen with the warm smell of baked goods wafting through the air. I remember those long afternoons where laughter filled the room and the only thing sweeter than the dessert was the company. This recipe is a tribute to those cozy moments.
This easy weeknight dinner for your sweet tooth combines the rich, chocolatey flavor of red velvet brownie with the luscious creaminess of a cheesecake. Can we just take a moment to appreciate that perfect balance? It’s like a hug for your taste buds! The deep red color not only makes it festive but also feels like a celebration of all things sweet. Imagine cutting into these little beauties, and that divine aroma fills your kitchen, pulling everyone in for a taste.
If you’re a fan of healthy comfort food but still want to indulge in some quick family meals, then this recipe is perfect for you. Plus, they are budget-friendly and can easily leave you with leftovers that feel like the best high protein meals when drizzled with a bit of chocolate sauce later!
So, if you’ve got a special event, or maybe it’s just a chilly evening when you want something delightful, pull out your muffin tin, and let’s dive into the sweet and slightly messy journey of making these mini cheesecakes. Get ready for some high protein pre-made meals vibes but with a delightful twist!
Why You’ll Love This Recipe
-
Easy to Make: If I can navigate my chaos of a kitchen, so can you! This is one of those recipes that feels like it takes zero effort yet delivers big flavor.
-
Comfort in Every Bite: These mini cheesecakes somehow manage to wrap you in warmth, like a cozy blanket on a rainy day. Trust me, one bite will feel like a hug in dessert form.
-
Leftovers Approved: Didn’t finish them all? No problem! They make for an excellent snack or dessert the next day…if they last that long!
-
Picky Eater Friendly: Kids (and adults) gobble them up – it’s cheesecake, and we all know that’s an instant family favorite. Serve with a smile, and you’ll see no leftovers!
-
Unique Yet Familiar Flavors: The combination of red velvet and cream cheese speaks volumes of both homey and fun vibes, perfect for any occasion.
-
Perfect for Meal Prep: Whip these up on a Sunday to have delicious treats ready for the week. Because who doesn’t love some easy high protein high calorie meals when cravings hit?
What Makes This Recipe Special?
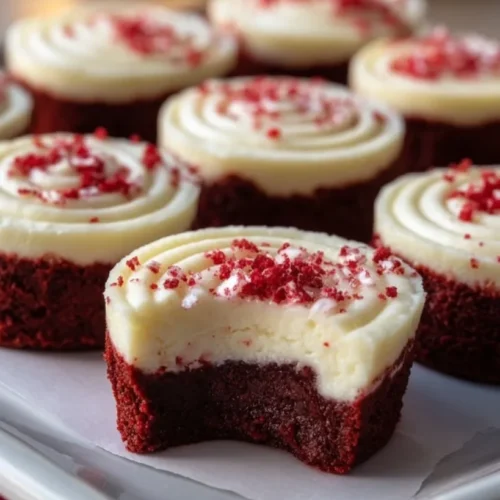
Mini cheesecakes are inherently special—they’re like tiny little slices of joy. But pairing them with a red velvet brownie base elevates them to another level. The chewy richness of the brownie balances out the creamy, dreamy cheesecake texture. Honestly, it’s a culinary duet that makes the heart sing! And let’s not forget the vibrant color that makes them visually irresistible. Present them on your dessert table, and they are sure to be a crowd-pleaser.
Now, let’s break down our ingredients because each plays a role in this delectable creation.
Ingredients
For our mini cheesecakes with red velvet brownie base, we need:
-
1 box red velvet brownie mix: This is the heart of our base. The beauty of using a mix is it saves time and provides consistent results. It’s deep, chocolaty, and oh-so-satisfying.
-
1/3 cup vegetable oil: This helps keep our brownies moist and adds that fudgy texture we all love. Don’t skimp on this!
-
1 large egg: Because brownies need an egg for binding. It creates that gooey consistency we crave.
-
8 oz cream cheese, softened: The creamy layer that balances the brownie base. Softening it before mixing prevents those pesky lumps. You want smooth, not chunky here!
-
1/2 cup sugar: A sweet necessity that complements the cream cheese. Don’t worry, we’re not going overboard—you’ll love the flavor!
-
1 tsp vanilla extract: Vanilla essence adds depth and enhances all the other flavors. It’s like the secret love letter of baking!
-
1 large egg: Another egg, but this time for the cheesecake! It helps set the filling beautifully.
-
1 cup sour cream: It adds richness and tanginess to the cheesecake. If you’re feeling adventurous, swap this out for Greek yogurt for a healthier twist!
Now for the don’t do this warnings: Don’t skip the softening of cream cheese, or you’ll end up with lumpy cheesecake. Trust me, I’ve learned that the hard way—and no one wants that on their final dish.
How to Make It Step-by-Step
Here’s the fun part! Cooking can be a wild adventure, so let’s do this together, step by step. Grab your ingredients, turn up the music, and let’s conquer this recipe.
-
Preheat your oven to 350°F (175°C). This is crucial, so don’t skip this step! Your cheesecakes will thank you for making sure the oven is ready.
-
Line a muffin tin with cupcake liners because mini cheesecakes need their homes! I usually prefer bright colors for a festive touch. It sets the mood!
-
In a mixing bowl, combine the red velvet brownie mix, vegetable oil, and 1 egg. Mix it until it is well combined. Here’s where the chocolatey goodness starts to shine through. You’ll notice a thick, rich batter forming.
-
Now, fill each cupcake liner about halfway with this brownie mixture. Make sure not to overfill! I once had a messy disaster when I overfilled; it was brownie lava all over my oven—definitely a lesson learned!
-
In another bowl, beat together the cream cheese, sugar, and vanilla extract. You want this to be super smooth, so consider using an electric mixer unless you’re feeling like a workout. I’ve done it both ways, and here’s a pro tip: patience is key here. Take your time mixing to avoid those lumps!
-
Add the second egg to the mixture and mix until it’s fully incorporated. You’ll see the mixture fluffing up nicely, and honestly, just smelling this is heavenly!
-
Gently fold in the sour cream. The texture should change to something silky and inviting. I like to imagine it’s a soft cloud just waiting to be devoured.
-
Pour the creamy cheesecake mixture over the brownie base in each cupcake liner. Don’t worry about being perfect; a little swirliness among the layers is charming and makes them homely!
-
Bake for 20-25 minutes. The edges should be set, but the centers will still be slightly jiggly. The scent wafting through your kitchen is utterly mouthwatering. Honestly, it’s the kind of aroma that makes you want to skip dinner and dive straight into dessert.
-
Once they’re done baking, let them cool completely. Oops, I have often jumped the gun on this step and paid the price with melted toppings—patience, my friend!
-
Once cooled, refrigerate for at least 2 hours before serving. This helps set the cheesecake and believe me, the wait is worth it when you taste the final product.
Tips for Best Results
-
Room Temperature Ingredients: Make sure your cream cheese and egg are at room temperature. This helps them blend better into a smooth mixture.
-
Don’t Overbake: I can’t stress this enough. It’s better to underbake slightly than to overbake them. A jiggly center is your friend here!
-
Keeping It Cool: If you can, let them chill overnight. The flavors deepen, and they are absolutely heavenly the next day.
Ingredient Substitutions & Variations
-
For a Healthier Twist: Consider using low-fat cream cheese or Greek yogurt instead of sour cream. You can also use an egg substitute if you’re looking for a lower-cholesterol version.
-
Flavor Upgrades: Feel free to add some chocolate chips or nuts to the brownie layer for an added crunch! You could also swirl caramel or raspberry sauce into the cheesecake mixture before baking for an unexpected flavor twist.
-
Seasonal Changes: During fall, consider adding pumpkin spice flavoring to the cheesecake for a seasonal kick—autumn vibes, anyone?
Directions
These mini cheesecakes pair perfectly with a cup of coffee or tea, making them the ideal dessert for a cozy evening. Watch a rom-com, and serve these up; it’s absolute perfection, trust me! They can also be a festive centerpiece during holidays.
Best Pairings: Serve them with whipped cream on top and maybe a berry sauce for added color. A side of ice cream can also elevate your dessert experience.
How to Store and Reheat Leftovers
Be honest; if you have leftovers, they often don’t last long, but if they do, store them in an airtight container in the refrigerator. These mini cheesecakes will keep well for up to 5 days. Reheating isn’t necessary, as they are best served chilled, but if you prefer they warm up slightly in the microwave for just a few seconds.
Make-Ahead and Freezer Tips
If you want to prepare these ahead of time, you can freeze them before adding any toppings. Just ensure they’re in an airtight container. They’ll last for about 2 months in the freezer, and you can let them thaw in the fridge overnight before serving.
Common Mistakes to Avoid
-
Skipping the Cooling Time: I learned the hard way that patience is key. Cheesecake needs time to chill and set, or you’ll be left with a gooey texture.
-
Overmixing: When you’re mixing your cheesecake ingredients, don’t overdo it. Just mix until combined. Too much mixing can lead to cracks in your cheesecakes.
-
Not Using Cupcake Liners: Trust me, going liner-less will make for a messy retrieval process. Liner-clad mini cheesecakes are easy to remove, and it makes serving them a breeze!
Frequently Asked Questions (FAQ)
-
Can I use a different brownie mix?
Definitely! Any chocolate brownie mix will work if you’re craving something different. -
What if I don’t have sour cream?
No problem! Substitute with Greek yogurt for similar creaminess and tang. -
Can I make these vegan?
You can try using a vegan brownie mix and experimenting with silken tofu as a cheesecake substitute; just keep in mind the texture may differ!
Cooking Tools You’ll Need
- Muffin tin
- Cupcake liners
- Mixing bowls
- Electric mixer (if desired)
- Measuring cups and spoons
- Cooling rack
Final Thoughts
These mini cheesecakes with a red velvet brownie base are not just treats; they’re memories waiting to happen. This joyful journey through baking is filled with flavors and smiles. Every bite takes me back to those heartfelt afternoons in grandma’s kitchen, feeling that warm embrace of comfort. I hope they bring you as much joy and cozy vibes as they do for me!
If you enjoyed this recipe, don’t forget to save it on Pinterest or share it with a friend!
Let the baking adventures continue!

Mini Cheesecakes with Red Velvet Brownie Base
Ingredients
For the Brownie Base
- 1 box red velvet brownie mix Saves time and provides consistent results.
- 1/3 cup vegetable oil Keeps brownies moist.
- 1 large egg For binding.
For the Cheesecake Filling
- 8 oz cream cheese, softened Avoid lumps by softening before mixing.
- 1/2 cup sugar Sweetens the cream cheese.
- 1 tsp vanilla extract Adds depth to the flavor.
- 1 large egg For the cheesecake filling.
- 1 cup sour cream Adds richness and tanginess.
Instructions
Preparation
- Preheat your oven to 350°F (175°C).
- Line a muffin tin with cupcake liners.
- In a mixing bowl, combine the red velvet brownie mix, vegetable oil, and 1 egg. Mix until well combined.
Assembly
- Fill each cupcake liner about halfway with the brownie mixture.
- In another bowl, beat together the cream cheese, sugar, and vanilla extract until smooth.
- Add the second egg to the mixture and mix until fully incorporated.
- Gently fold in the sour cream.
- Pour the cheesecake mixture over the brownie base in each cupcake liner.
Baking
- Bake for 20-25 minutes until the edges are set but the centers are slightly jiggly.
- Let them cool completely, then refrigerate for at least 2 hours before serving.


